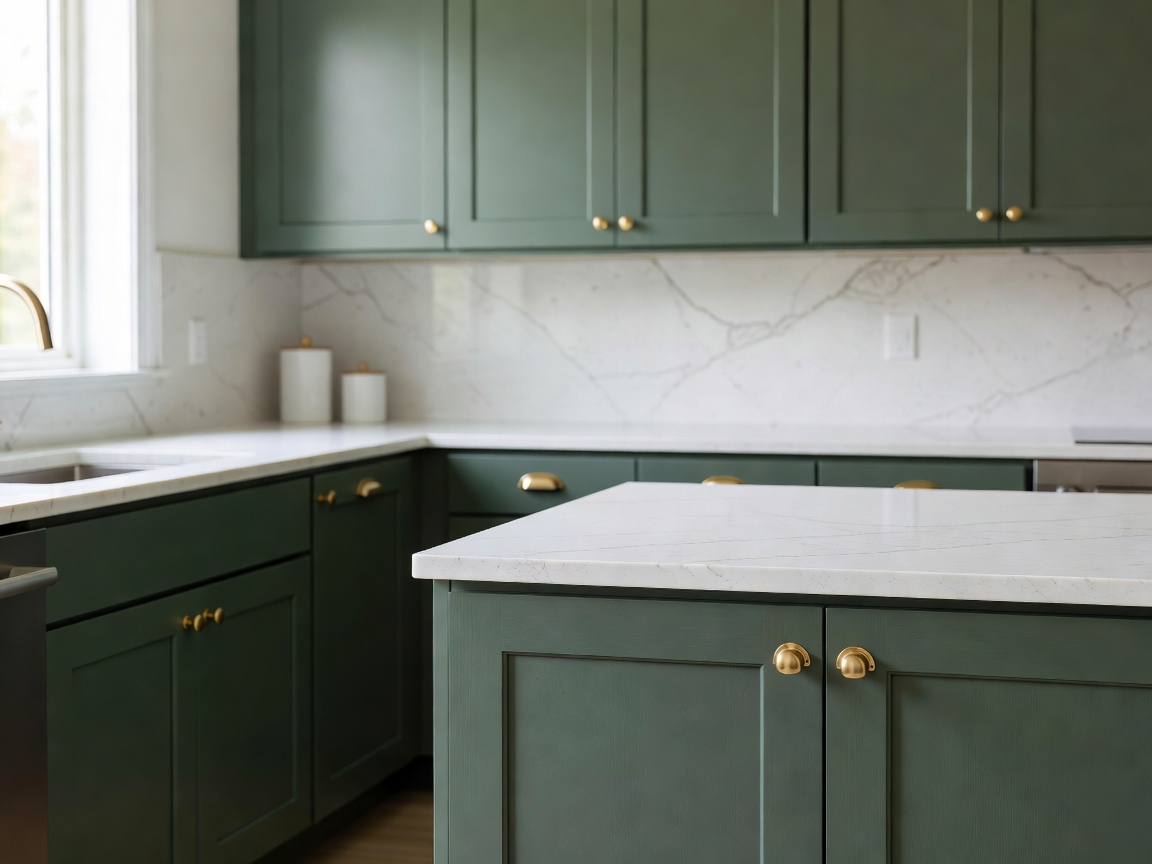
A full kitchen replacement carries immense financial cost and generates significant landfill waste. In cases where the existing cabinet carcasses (particleboard or plywood boxes) remain structurally square and level, refinishing cabinet doors and face frames delivers a like-new transformation at a fraction of the cost.
1. Step 1: Disassembly & Systematic Indexing
The primary reason DIY cabinet refinishing projects fail is disorganized disassembly. Every cabinet door and drawer face must be numbered systematically prior to removal. Use painter's tape on the hinge recess and inside carcass walls to log location identifiers (e.g., U-01 for Upper Left Cabinet 1, B-04 for Base Drawer 4).
Remove all hardware, including hinges, pulls, catches, and silicone bumpers. If new hardware hole spacing differs from the old layout, fill existing holes with two-part wood filler or polyester auto-body compound before sanding.
2. Step 2: Chemical Decontamination (Crucial Phase)
Cooking greases, aerosols, and household wax residues prevent primers from establishing a chemical bond with the substrate. Sanding over greased cabinets simply grinds grease deeper into the wood grain.
- Heavy Degreasing: Scrub all surfaces thoroughly using a Trisodium Phosphate (TSP) substitute or heavy-duty alkaline cleaner with a non-scratch abrasive pad.
- Clean Water Neutralization: Wipe surfaces twice with clean warm water to remove detergent film. Allow to dry fully for 12 hours before mechanical abrasion.
3. Step 3: Mechanical Abrasion & Substrate Profiling
You do not need to sand down to bare timber on factory-finished surfaces, but you must completely break the factory sheen to provide a mechanical "tooth" for the bonding primer.
| Phase | Abrasive Grit | Application Focus |
|---|---|---|
| Initial Scuff Sanding | 120 - 150 Grit (Orbital or Hand Block) | Removes surface gloss; feather out chipped factory lacquer |
| Inter-coat Primer Sanding | 220 - 320 Grit Silicon Carbide | Smooths raised grain and eliminates primer stipple |
| Final Polish (Optional) | 400 Grit Microfine Sponge | Removes airborne dust nits between topcoats |
Primer Chemistry: Selecting the Correct Formula
For oak or open-grained woods containing heavy tannins, use a high-build Shellac-based or Oil-based blocking primer to stop yellow bleed-through. For laminate, thermofoil, or smooth MDF, use a dedicated Adhesion-Promoting Acrylic Hybrid Primer. Standard latex wall primer should never be used on kitchen cabinetry.
4. Step 4: Topcoat Application Technologies
Kitchen cabinetry requires high scratch resistance, grease endurance, and scrubbability. Standard wall paints will soften and tackify under skin oils within months.
Waterborne Alkyd / Urethane Enamels
Pros: Cleans up with water, low VOC odor, excellent self-leveling properties that minimize brush strokes, cures to a hard ceramic-like finish.
Cons: Full chemical cure requires 21 to 30 days of gentle usage.
Two-Component Catalyzed Polyurethane
Pros: Factory-grade industrial hardness, impervious to water immersion and solvents, fast cure time.
Cons: Requires professional HVLP spray gear, dedicated respirator ventilation, and strict pot-life mixing.
5. Hardware Modernization & Reassembly
Upgrading hardware elevates the final aesthetic. When reassembling, replace old non-adjustable hinges with soft-close 110-degree concealed Euro-hinges (using an adapter plate if necessary). Reinstall doors strictly according to your original indexing log, and adjust the 3-way alignment screws to ensure even 3mm reveal gaps across all adjacent panels.