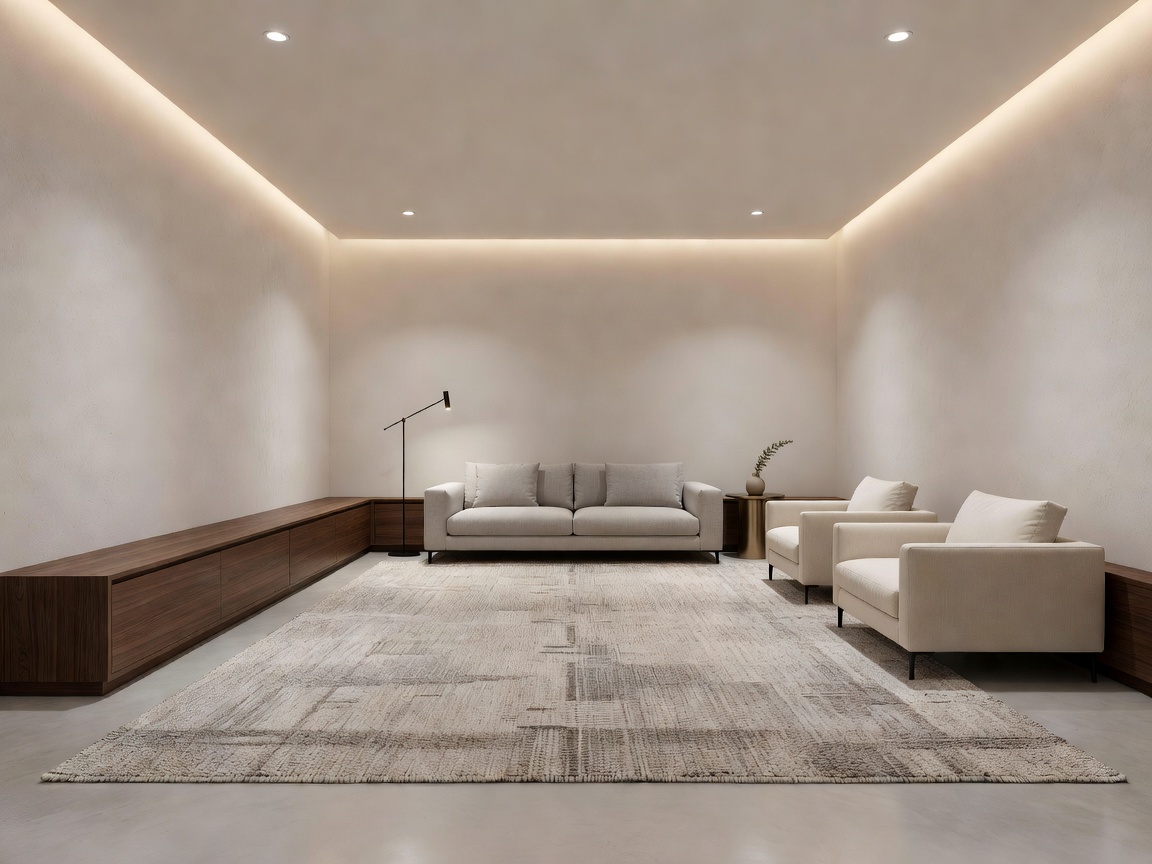
The living room serves multiple, often competing functions: social conversation, media entertainment, reading, and formal hosting. When a living space feels disjointed or cluttered, the root cause is rarely square footage; rather, it stems from compromised circulation pathways, unanchored furniture arrangements, and single-source overhead lighting.
1. Circulation Geometries and Egress Tolerances
Every successful makeover begins on paper with an accurate perimeter survey. Circulation paths must respect human scale. The primary walkway through a living room—such as connecting the entry foyer to a patio or dining alcove—requires an unobstructed width of at least 800mm to 900mm. Secondary pathways between a coffee table and sofa can decrease to 400mm–450mm, ensuring comfortable knee clearance while keeping beverages within arm's reach.
Avoid pushing all substantial seating against the perimeter walls—a common habit known as "wall hugging." Floating the primary sofa 300mm to 600mm away from the wall immediately introduces depth, provides space for subtle console tables, and allows baseboard heating or curtains to breathe.
2. Visual Anchoring with Large-Scale Floor Coverings
One of the most persistent errors in residential living room design is selecting an undersized area rug. An area rug acts as the unifying tectonic plate for a seating cluster.
- All-Legs-On Placement: In rooms exceeding 25m², all legs of sofas, armchairs, and occasional tables rest entirely on the rug, requiring a minimum border of 300mm behind the seating backrest.
- Front-Legs-On Placement: For standard rooms (16m²–24m²), the front legs of all seating components should sit at least 200mm onto the rug, establishing visual continuity without overcrowding the perimeter floorboards.
- Floating Island Pitfall: Never allow the rug to sit solely beneath the coffee table without touching any seating. This creates an isolated "island" that makes the room feel fractured.
Pro Tip on Acoustic Softening
Hard surfaces (engineered timber, plasterboard, large glazing panes) generate excessive reverberation. Integrating a dense wool-blend rug with a 10mm felt underlay reduces echo time by up to 35%, dramatically improving speech intelligibility during conversations.
3. Three-Tiered Lighting Architecture
Relying on a solitary central pendant or an uncontrolled grid of recessed downlights creates harsh shadows and a sterile environment. A balanced living room requires three distinct lighting circuits:
| Layer Type | Fixture Category | Recommended CCT | Functional Role |
|---|---|---|---|
| Ambient | Concealed cove LED strips, semi-flush diffusers | 2700K (Warm White) | Provides overall background illumination without glare |
| Task | Adjustable floor reading lamps, cantilever table lamps | 2700K - 3000K | Dedicated high-lumen illumination for reading and work |
| Accent | Directional art spotlights, low-output shelf backlights | 2400K - 2700K | Highlights architectural millwork, textiles, and art objects |
4. Material Pairing & Structural Palette Balance
A cohesive living room balances high-sheen and tactile matte textures. When selecting finishes, aim for a 60-30-10 distribution: 60% dominant neutral backdrop (walls, large drapery), 30% secondary structural timber or upholstery tone (oak cabinetry, wool seating), and 10% tactile accent material (patinated bronze hardware, travertine trays, or linen cushions).
Recommended Approaches
- Wall-mounted lowboards that elevate floor visibility and create continuous sightlines.
- Dual-level coffee tables providing versatile stacking and nesting utility.
- Separate dimming modules for perimeter and task luminaires.
Common Pitfalls
- Oversized media wall consoles that overwhelm standard ceiling heights.
- Mixing cold 4000K LEDs with warm 2700K accent lamps.
- Blocking natural light windows with dense, opaque corner furniture.
5. Phased Execution Timeline
Executing a living room overhaul methodically prevents costly delays. Begin by stripping the room of redundant elements, patching substrate plaster, and completing all secondary electrical rough-ins. Follow with paint applications, rug placement, anchor joinery installation, and final luminaire calibration.